iK FOAM PRO 12 - Handheld Pressure Foamer
| Product code: | DT993 |
| Availability: | 0 |
| Price: | 149,90 EUR with VAT |
| Price without VAT: | 121,87 EUR |
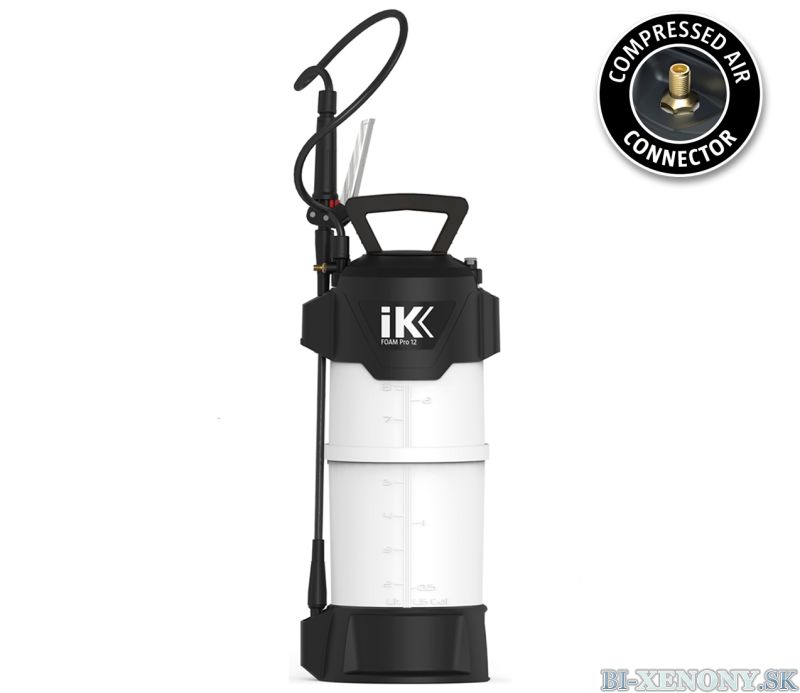
The professional foamer IK FOAM Pro 12 was made for creating dry and durable foam. Designed for use with chemical agents possessing surfactant properties.
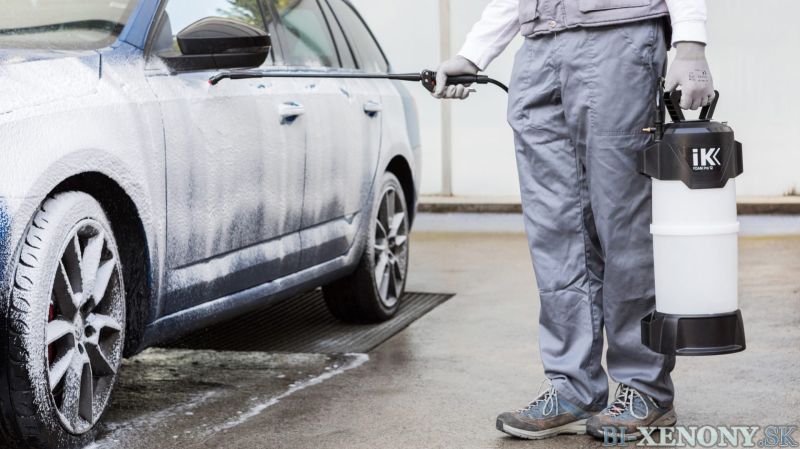
IK Foam Pro 12 provides the user with a dense, long-lasting foam, which is ideal for professional cleaning, sanitation and disinfection work, HVAC system cleaning, vehicle and detail washing, as well as for disinfecting food processing areas and industrial kitchens.
HOW TO MAKE PERFECT FOAM?
- Unscrew the sprayer head by turning it counter-clockwise.
- Fill the tank with water up to the indicated maximum working volume of 6L.
- Pour in the foaming product.
- Tighten securely.
- Pressurize the device using strokes (approx. 15). For quality foam, it is important to pressurize until the valve clicks or pops.
- To start spraying, ensure the safety lock is off. Squeeze the handle and while working, compensate for pressure loss by making more strokes.
- After finishing work, activate the safety lock and release the pressure by pulling the safety valve.
- Working pressure 4 bar
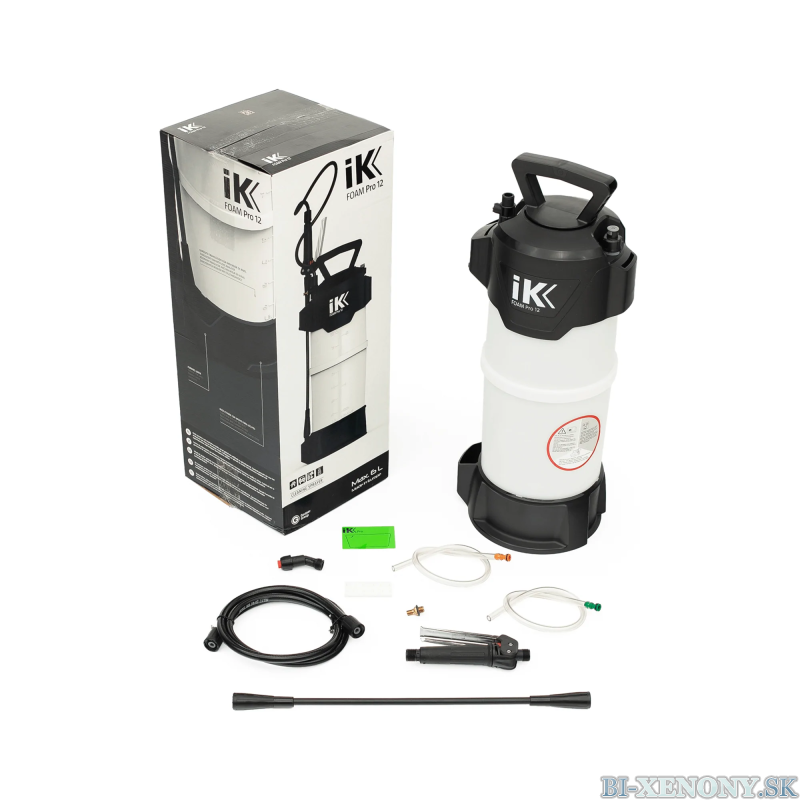
- Can be pressurized manually or with compressed air/compressor
- Hose - 1.3m
- Adjustable nozzle
- Durable translucent tank with level indicator
- Innovative and ergonomic design
- Stable foamer with footrest
- Large integrated funnel for easy filling
- Easy to use
- Pump holder system when filling the tank
- Stainless steel handle with safety lock
- Safety valve especially resistant to acids
- Content identifier system with color cards
- Air valve with option for compressor pressurization
- Working volume - 6L
- Total volume -10L
- Total weight - 2.99kg
- After each use, depressurize the sprayer and clean it.
- If the nozzle clogs, clean it with water and do not use metal objects.
- If the filter on the handle is clogged, remove it and clean it with water.
- To extend the life of the seals, regularly lubricate the moving parts of the sprayer with grease.
- The device has a felt pad installed in front of the nozzle. When the filter is dirty, it needs to be cleaned with water. If it is completely damaged or extremely dirty, replace it with a spare part. The device comes with a strip of 10 additional filters. Remove the used filter using a pointed object.
- To completely drain the tank, release the cap located at the bottom of the tank.
- If the device does not spray or seems clogged, release the tank hose, release the connector and remove the suction hose and clean it with water.


Categories
- Garancia najnižšej ceny
- Rýchle dodanie
- Záruka 24 mesiacov
- Možnosť vrátenia tovaru do 14 dní
- Garancia najvyššej kvality
- Odborné poradenstvo